Boost Your Editing Speed: Top Premiere Pro Keyboard Shortcuts for Mac Users
For Mac users delving into the world of video editing with Adobe Premiere Pro, mastering the essential keyboard shortcuts can be a game-changer. These shortcuts not only save time but also streamline your workflow, making the editing process more efficient and enjoyable. In this blog post, we're going to introduce you to 12 of the most useful Adobe Premiere Pro shortcuts for Mac users, along with tips on when and how to use them effectively.
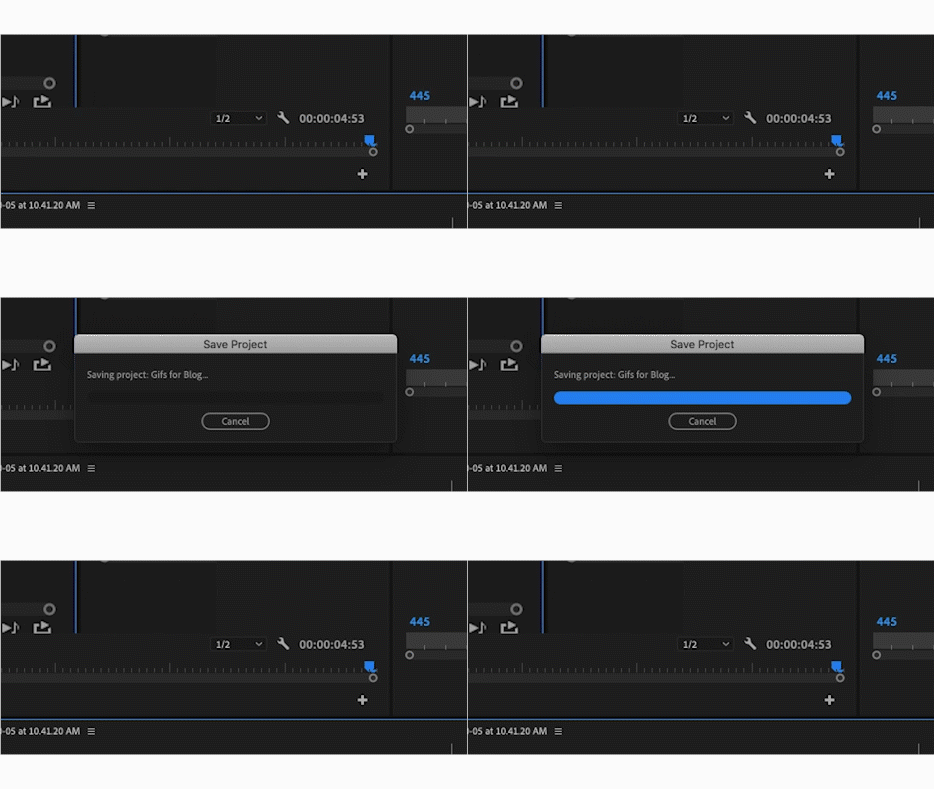
SAVE
Command + S
When to use: After making any changes to your project, press Command + S to save your progress. Regular saving is crucial to prevent potential data loss.
2. PLAY/PAUSE
Spacebar
When to use: Quickly preview your timeline or pause playback during editing by hitting the spacebar instead of searching for the playback button.
3. UNDO
Command + Z
When to use: Reverse your last action with Command + Z to correct mistakes or backtrack.
4. REDO
Command + Shift + Z
When to use: If you accidentally undo too many actions, use Command + Shift + Z to redo them.
5. COPY AND PASTE
Command + C and Command + V
When to use: Duplicate clips or elements in your timeline by copying them with Command + C and pasting with Command + V.
6. ADD EDIT (CUT)
Command + K
When to use: Split clips at the playhead's position with Command + K to remove unwanted sections.
7. EXPORT
Command + M
When to use: After completing your project, press Command + M to open the export settings dialog and render your final video.
8. LINK/UNLINK VIDEO AND AUDIO
Command + L
When to use: Control the link between audio and video tracks using this shortcut for precise control over your media.
9. SET IN AND OUT POINTS
I and O
When to use: Mark specific sections of your footage by setting in (I) and out (O) points on your timeline. This is incredibly useful for precise editing and exporting selected portions of your video.
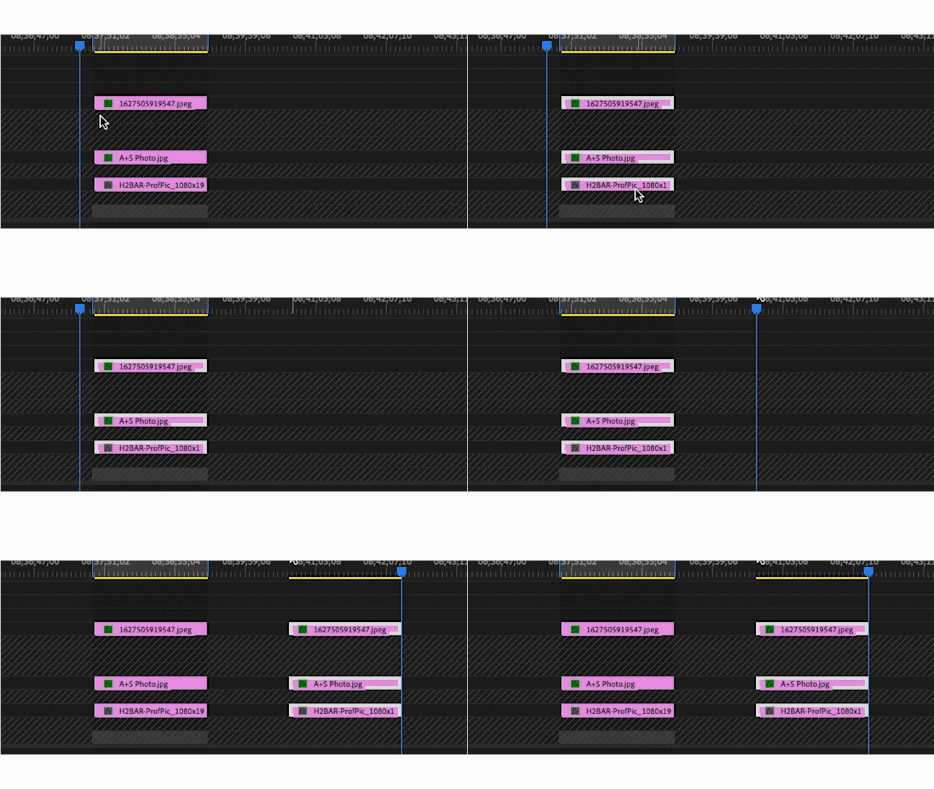
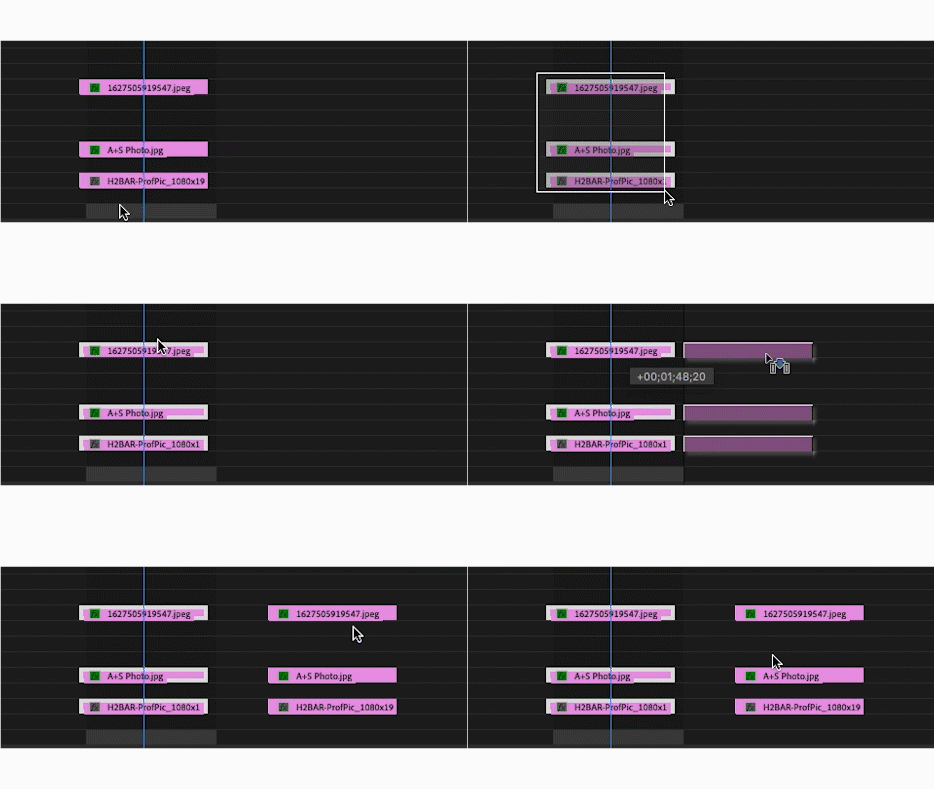
10. DUPLICATE AND DRAG CLIP
Option + Drag
When to use: Duplicate and drag clips on the timeline without affecting the original by holding Option and dragging.
11. SPEED/DURATION
Command + R
When to use: Adjust the speed and duration of selected clips with Command + R, allowing for slow-motion or fast-motion effects.
12. GROUP CLIPS
Command + G
When to use: Group selected clips with Command + G to move and edit them as a single unit on the timeline.
By incorporating these essential Adobe Premiere Pro shortcuts into your editing workflow on your Mac, you'll find yourself working more efficiently and smoothly. These shortcuts save you time and effort, allowing you to focus on the creative aspects of video editing.
Stay tuned for more Adobe Premiere Pro tips and filmmaking insights right here on our blog at Robert Cummins Film Co! Happy editing!


